Today I want to share with you one of my favorite Australian or New Zealand authentic pavlova cake recipe. After many trials and errors, I’m proud of the result and exciting that I finally conquered classic pavlova dessert! Now I’m ready to share with you all secrets, tips, and tricks that will help you make this fantastic dessert!
I once went to Mediterranean café and was excited to see Turkish coffee on the menu. I immediately ordered it and was eagerly waiting for it. When I received and tried it, it was not even close to authentic Turkish coffee. The owner was nearby, and I kindly pointed to him what they serve is not a Turkish coffee. The response was: “Yes, this is inspired Turkish coffee, the way we drink it in Israel…”
The same with the Pavlova dessert recipes on the internet. The majority are crispy meringue layers, usually two, with the whipped cream between. This is inspired Pavlova cake, not a classic, authentic one.
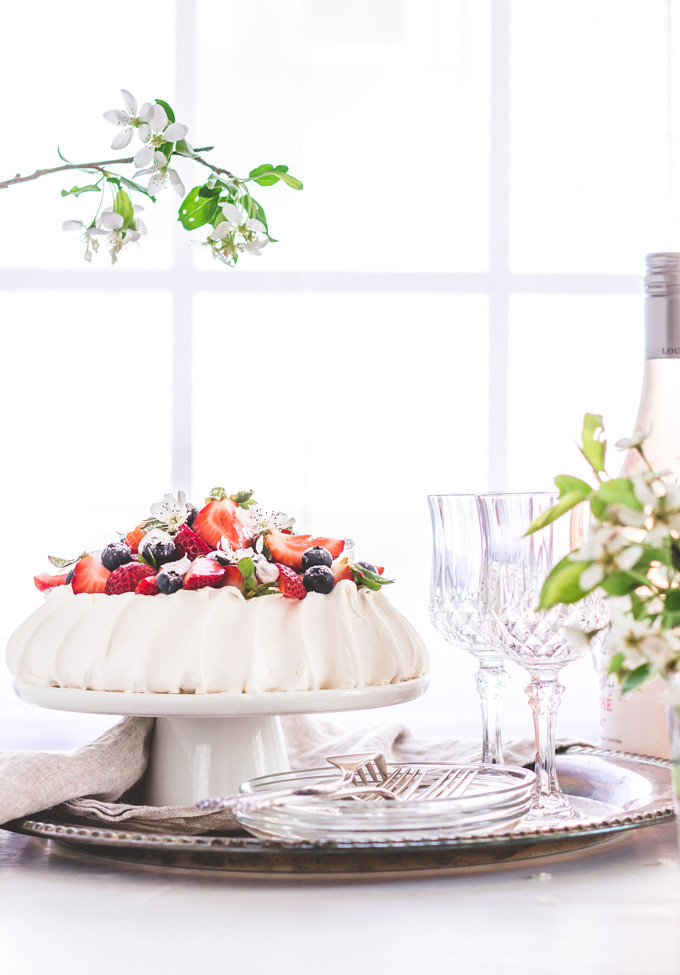
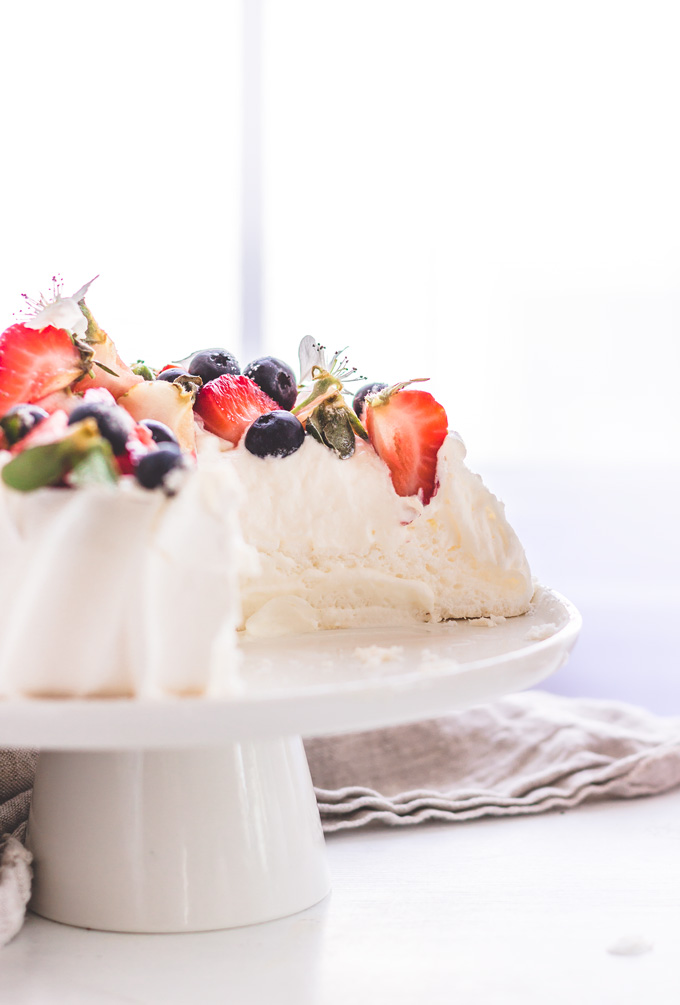
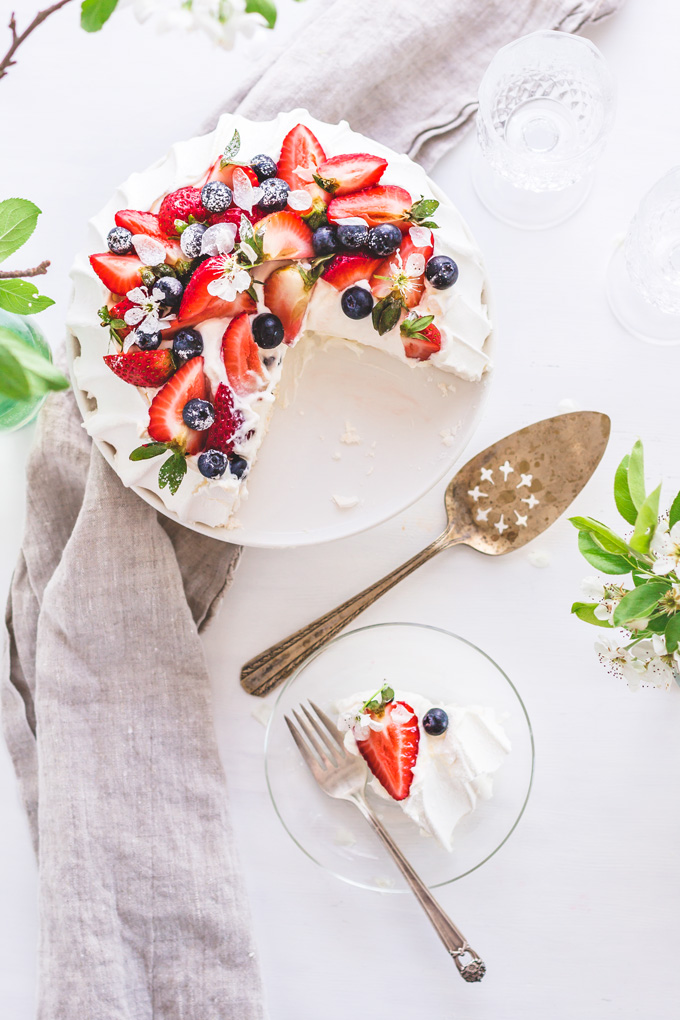
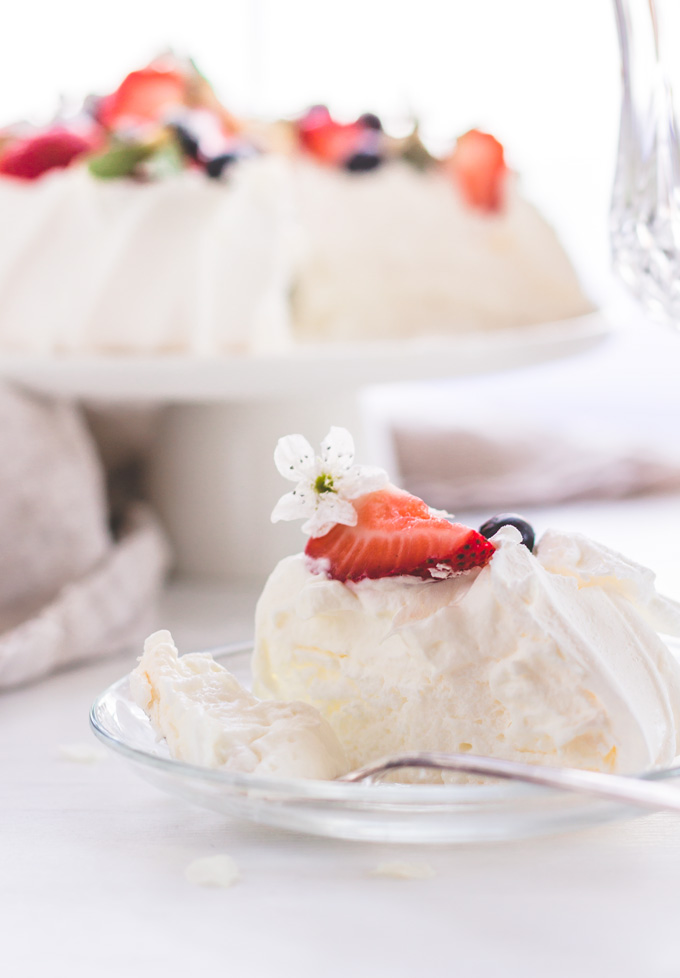
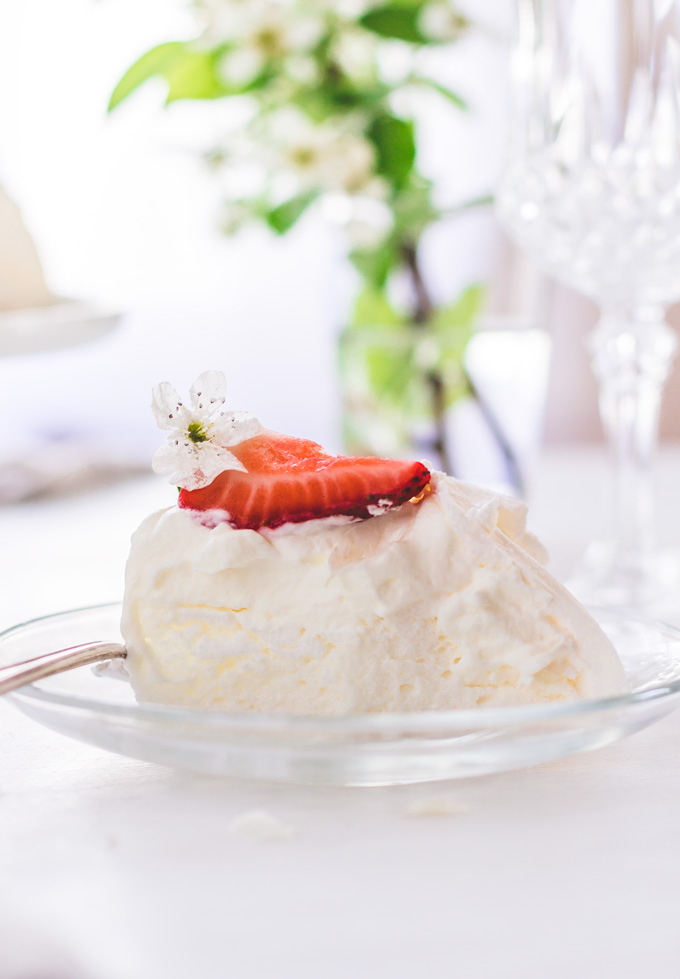
Pavlova cake most importantly is a contrast of textures. You break the tall crispy outer shell to discover the creamy light and airy filling. All this beauty is topped with soft whipped cream and fruits or berries of your choice.
To understand the concept of the cake you need to know the history behind it.
Pavlova dessert history:
Pavlova cake was named after the famous Russian ballerina Anna Pavlova. Australia and New Zealand are still fighting for the rights on who created this cake. All we know is it was created during or after the visit of Anna Pavlova on her tours to both countries. The oldest cookbooks of both counties have the recipe, so it is hard to tell who the creator is. The dessert became a part of national cuisine in both countries and is served on many occasions and holidays.
There is an idea that Pavlova cake represents ballerina’s character. Strong on the outside, yet gentle and soft on the inside. To me, it represents all women. We have to be strong on the outside to conquer this world, but soft and lovely to people we love.
Delicate crispy outer shell with a soft marshmallow-like inside. This is the way the original Pavlova dessert should be. But nowadays the concept is lost, and any cake with meringue layers is called Pavlova!
Authentic Pavlova Dessert is:
- One layer cake
- Crispy on the outside and soft, marshmallow-like on the inside which explains why there should be one layer
- White, slightly pale color
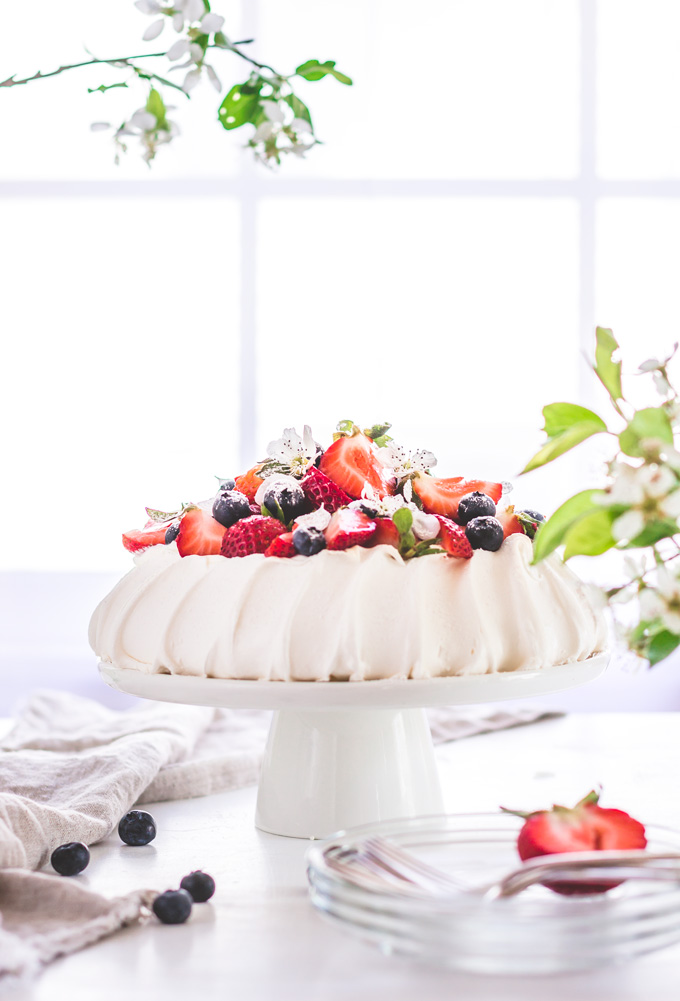
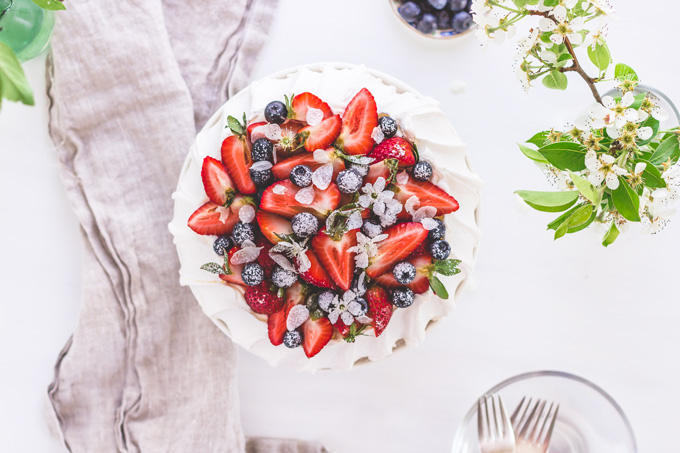
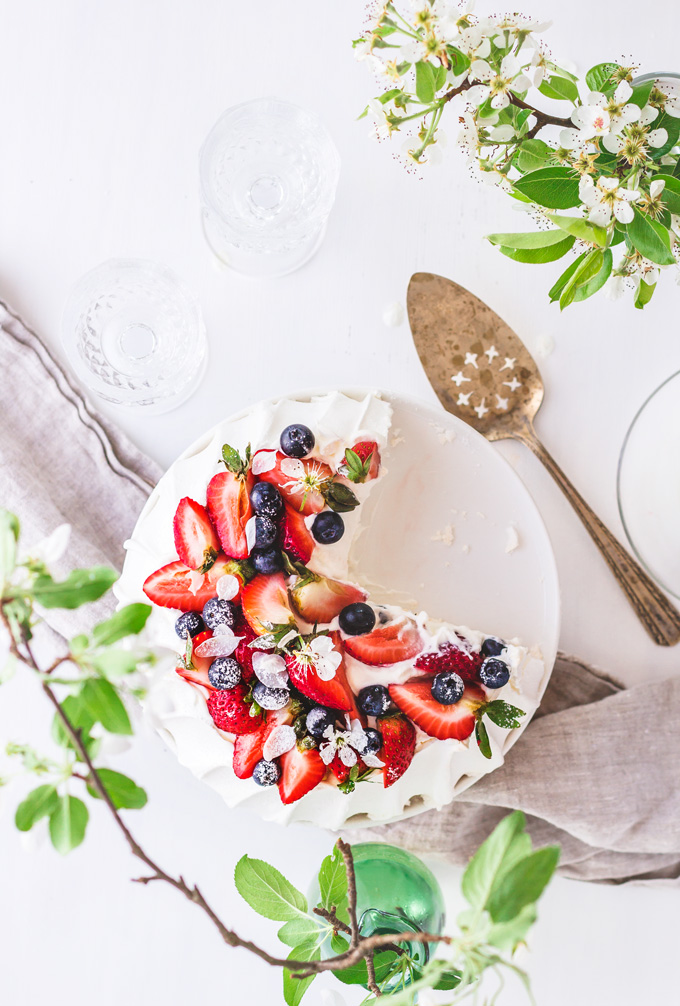
- Topped with whipped cream and a choice of fresh fruits
Even if you are not a fan of meringues like I’m (way too sweet for me), you will be surprised how differently delicious Pavlova cake is. Not overly sweet, soft and cloudy meringue topped with zero sugar whipping cream. Sweet and sour berries balance out the sweetness of the meringue! Every airy bite of meringue and whipped cream melts in your mouth.
It is also such a versatile dessert! You can make and serve it during any season of the year, on any holiday, and use any seasonal fruits. There is even a tradition in Australia and New Zealand to make Christmas Pavlova Dessert.
My favorite Pavlova toppings:
- Spring & Summer: Fresh Berry Pavlova
- Fall: Apple or Pear Pavlova
- Winter: Orange Pavlova
The beauty of this cake is not only how gorgeous and impressive it looks but also how easy it is to make once you know how. Think about it. It is only one layer which is egg whites and sugar. The cream is simple whipped cream. Slice some fruits or berries and done, done, done!
So let’s dive in and learn some tips and tricks of classic pavlova recipe.
How to make authentic pavlova cake:
- Start with room temperature eggs whites. There should be no egg yolks traces whatsoever.
- The mixing bowl and whisk should be clean and free of any grease.
- Always start beating egg whites at low speed. And slowly increase it. This helps the consistent bubble size formation.
- Pastry chefs secret! Always beat egg whites in one direction, usually clockwise. This helps air to distribute throughout the egg whites evenly. Which yields consistent and strong texture.
- Start adding sugar when egg whites reach a soft peak consistency.
- Add sugar in 4 additions with about 45-second intervals.
- Meringue is ready when you don’t feel any sugar granules when rubbing between two fingers.
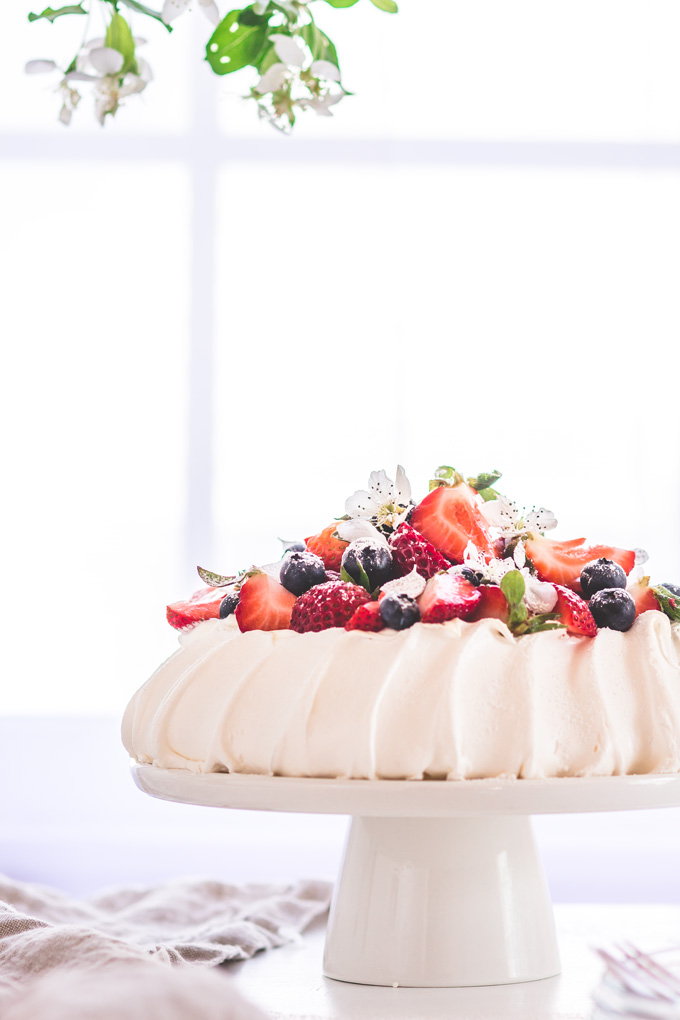
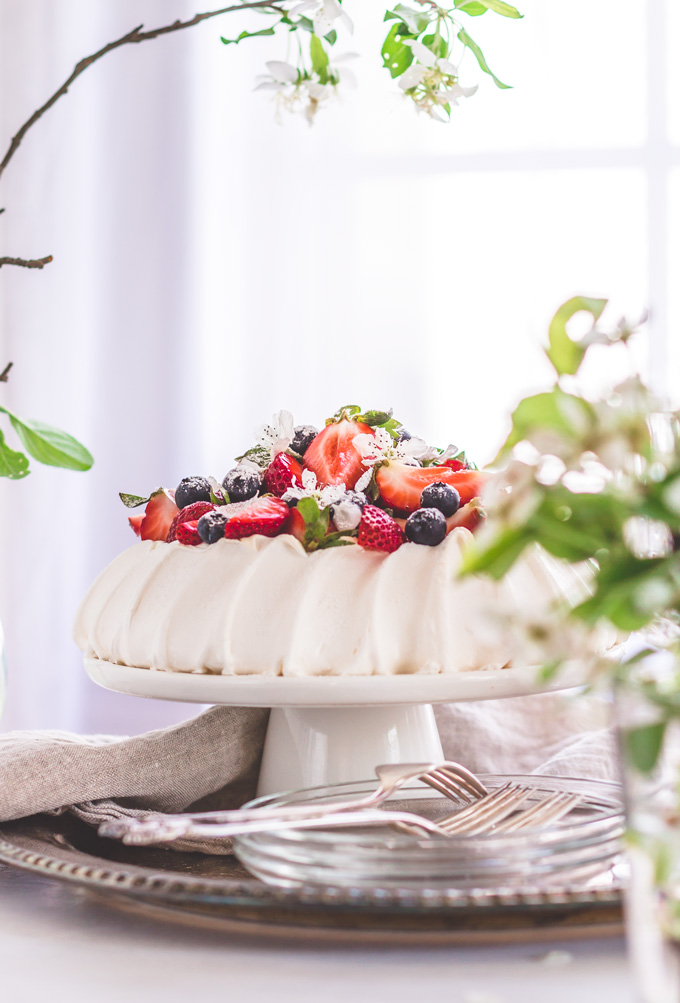
- The size of the cake on pictures is 8 cm. / little more than 3 inches tall and 20 cm / 8 inches wide
- Keep the oven temperature consistent. Don’t play with it once the cake inside.
- Temperature more than 240 F will brown and break the cake. Keep it below 240F.
- Never open the oven door once the cake is inside. Let the meringue set and create structure. Otherwise, it may deflate.
- The cooling process is equally important as baking. When Pavlova is done turn off the oven and let it cool for about 2o minutes. Then open the oven door ajar and let it cool completely. That is why I prefer to start making Pavlova a day ahead. Leave it in the turned off oven overnight and finish it the next day.
Troubleshooting pavlova cake:
- Pale brown color. Oven temperature is too high. Low and slow is a key here.
- Cracks on a cake. Overbeaten egg whites, or oven temperature too high, or overbaked. NOTE! Some cracks are OK, and they will not affect the taste. Just think where the mistake was and try next time.
- Deflated cake. The sudden change of temperature. Pavlova is afraid of cold air. Do not open the oven while it is baking and let it cool completely when the baking time is up.
- Liquid on the bottom of the cake. Overbeaten egg whites or bad quality sugar.
FAQs:
Can you make pavlova in advance? Undecorated pavlova can be left overnight in the oven, or up to two days in an airtight container.
What is a soft peak? Whipping Egg Whites To Perfect Peaks is the best video to watch and learn about egg whites peaks stages.
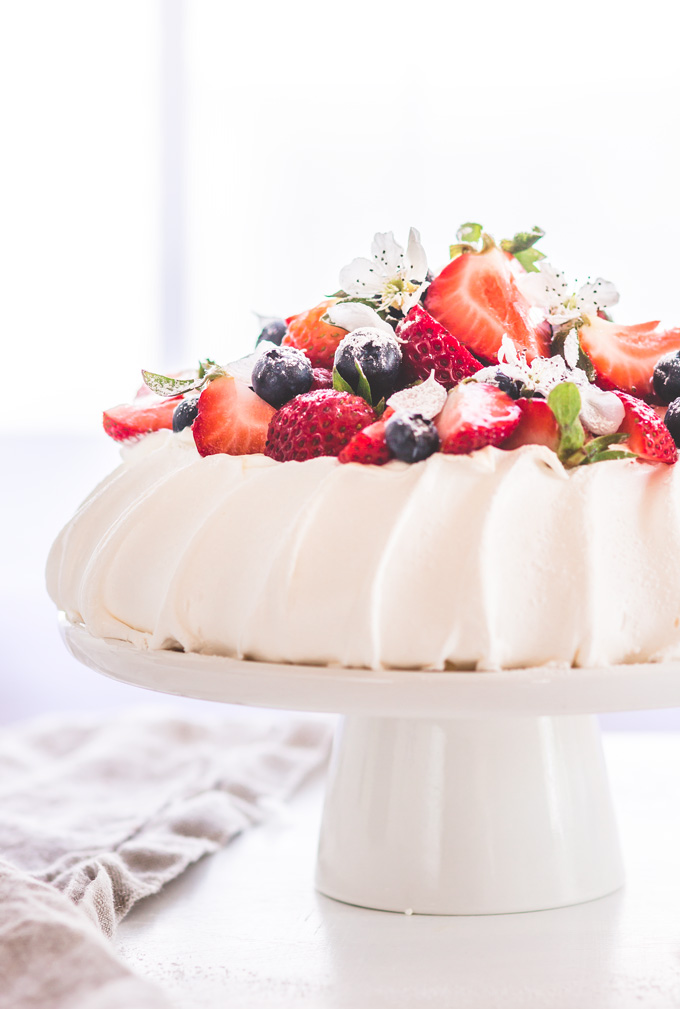
How to make beautiful lines on the outer shell? With a back of a regular spoon gently move from bottom to top to create beautiful lines.
How do you know when a pavlova is cooked? Gently knock the shell with your fingernail. If it is crispy, then it’s done. There should be no wet and sticky parts on the outer shell. Also, it should easily come off the parchment paper.
How long can pavlova be stored? Once you put whipped cream and toppings, it is a one-day dessert. Because of the whipping cream and humidity Pavlova quickly becomes soggy and loses the texture. Only if you must, Pavlova can be refrigerated for 1 day.
To finish this post, here is a little secret. All professional pastry chefs have their pavlova and meringue journey! If your first Pavlova turns out perfect, then be proud of yourself! If it doesn’t come out as expected, don’t beat yourself up. Real authentic Pavlova will challenge your patience, self-control, and confidence. That is why I’m here to help you. The comment section of this post is open all the time. Share your victory or fails there and we will celebrate or troubleshoot it together.
Also, it will be a lot easier if you can take a picture of your Pavlova. Either to show me how good of a pastry chef you are. Or help me see better what went wrong. Send your photos to maria@thepuretaste.com or tag it #thepuretaste on Instagram.
Together we will figure things out and will nail the authentic Pavlova!
Now you know how to make a pavlova dessert from scratch! With all tips and tricks in this post, you are ready to make the best Australian or New Zealand dessert Pavlova.
Happy baking and good luck 😉
If you make this recipe, please share your picture with me by tagging it #thepuretaste on Instagram. Or share your results in the comment section down below. It means a whole world to me knowing someone is making my recipes.
Thank you for sharing and support ❤️❤️❤️
Maria
Yields: 8 inch. cake
20 minPrep Time
2 hrCook Time
2 hr, 20 Total Time
Ingredients:
- 4 (~ 140 gr.) large egg whites
- Pinch of sea salt
- ¾ cup + 1 tbsp. (~190 gr.) granulated sugar
- 1 teaspoon white vinegar
- 3 teaspoons cornstarch
- 1 cup heavy whipping cream
- 1 cup fruits for topping (strawberries, blue=berries, blackberries, etc.)
Instructions:
Preheat oven to 350 F. Line a baking sheet with parchment paper. Using a cake pan trace 8" circle with a pencil. Flip the parchment over.
In a dry and clean bowl, add the egg whites and a pinch of sea salt. Beat on low speed until small bubbles form on top of the egg whites. Increase speed to medium-high and continue beating until a soft peak forms. Then start adding the sugar a little at a time (4 additions) until the stiff peak forms. Meringue is ready when you don’t feel any sugar granules when rubbing between two fingers. Add vinegar, and sifted cornstarch. Beat on low speed for few seconds to thoroughly combine the meringue.
Place small dollops from the meringue on four corners under the parchment paper. This helps paper stay in place while baking. Scrape the meringue onto the center of the circle. Spread the meringue to fill the circle. Make a little well in the middle for the filling. The cake should be about 8 cm. tall.
With a back of a regular spoon gently move from bottom to top to create beautiful lines.
Place the baking sheet in the middle of the oven and immediately reduce heat to 235F. Bake for about 2 hours or until crispy shell forms.
When done, turn off the oven and leave the cake in for 20 minutes. Then open the oven door slightly (ajar) and allow to cool completely, at least 2 hours or overnight.
When ready to serve, whip the cream until soft peaks shape. Spread on top of the meringue. Top with the desired fruits.
It is better to eat the cake the same day. If you must, the cake can be refrigerated for one day but will lose some texture.
Enjoy!
Notes:
* For best result, please read the post first for all secrets, tips, and tricks. * Total Time does not include cooling process, which is about 2 hours or overnight.
Disclosure: This post contains some affiliate links. If you purchase a product through one of my links, I will earn a small commission at no extra cost to you. I only recommend products that I use and love myself. Thank you in advance for your support! It means a lot!
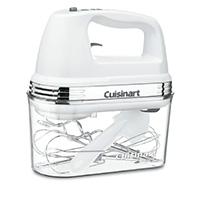
Products used in this post:

 Save Recipe

24 Comments